If you work in the fashion industry you know how pictures communicate better than words and that’s why
In today’s article I’ll explain you how to create the perfect mood board.
First of all you need to understand why mood boards are so important.
They’re not creative projects but fashion tools used to communicate ideas between stylist, photographers, fashion designers…
There are two major types of mood boards:
- The first one is used to get inspirations for a future collection of clothes
- The second one is used to get organized on fashion projects (editorials, fashion campaign, fashion shows…)
Even the biggest fashion houses use moodboards to get inspired for the next collection.
Usually, the style office does some brainstorming activities and adds, on a wall, pictures, phrases, objects,
Fashion freelancers use mood boards too: behind every campaign, lookbook or editorial there’s a moodboard.
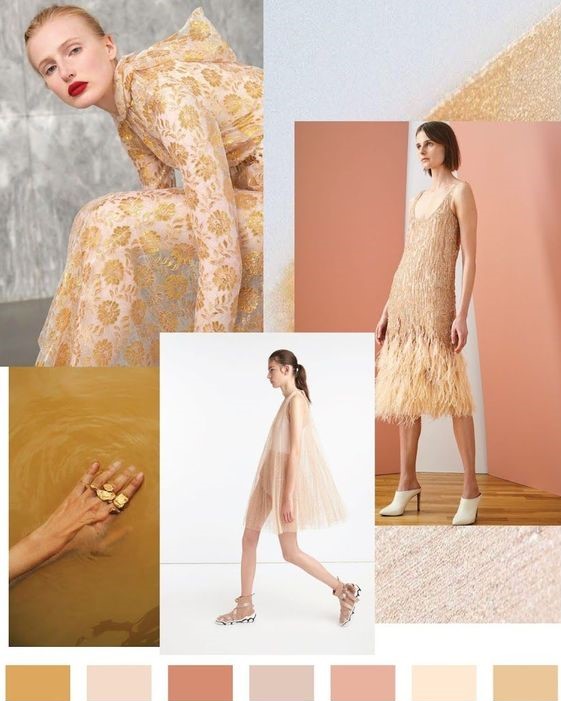
To be really useful a mood board needs to have specific features:
- CONSISTENCY
Sometimes even people who’ve worked in fashion for years build mood boards in the wrong way, choosing images that don’t match each other and that are confusing. It’s better to put a few but consistent photos.
For example you can choose to use for your editorial the ‘80s mixted with the Asian Culture but you have to find images that only represent that two aesthetics.
You can’t pull images about 90s or 70s shapes, not in this case.
- VARIETY
The mood board needs to contain several sections: one for the styling, one for the make-up ect.
Some famous photographers put in the mood board only three pictures. They’re so clear that the team won’t need anything else. For
- CLARITY
Moodboards are tools that communicate ideas in a clear and brief way. If need to explain your
If you say: “I want pink lips!” the photographer will think about a particular shade of this color while the make-up artist will pick up a different one. That’s why you must use pictures!
Now let’s get pratical! I’ll explain how to create you best mood board.
THE FORMAT
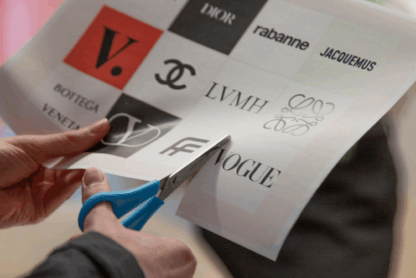
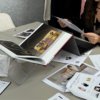
Years ago moodboards were made cutting pictures and pinning them over wood boards or pieces of paper. Today it’s better to create them on your computer so you’ll be able to send them to you co-workers easily.
You can use different programmes: Indesign, Photoshop, Pages, Publisher, Microsoft Word, Power Point etc.
Remember to save them as a pdf format and to resize them using SmallPDF.com so you’ll be able to send it via email.
WHERE TO FIND IMAGES
Searching for images is the most important thing
My teacher used to say: “You can tell if someone reads fashion magazines or not just by looking at their mood board.”
She’s so right. You have to develop your visual culture and you can’t do that by reading only Vogue or Vanity Fair. Why don’t you try to explore the world of
I suggest you to take a look at these ones: Schon Magazine, Purple Magazine & Dansk Magazine.
About searching for images online try not to use Google Images and instead look at this ones: Fashion Editorials.com, The Red Lists.com e Art + Commerce.com.
Having good quality pictures could make the difference when you’ll send the mood board to model agencies and showrooms.
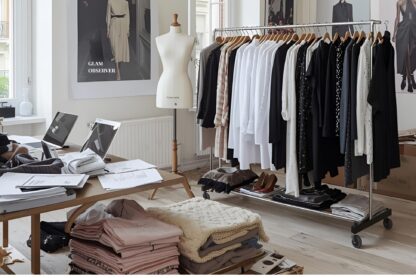
THE LAYOUT
There are no rules regarding the layout, but I suggest you keep it simple and minimal in order to enhance your pictures.
To be complete the mood board should have these sections:
- MOOD
- STYLING
- PHOTOGRAPHY + LIGHTS
- MAKE- UP AND HAIR
- MODEL POSING: this last section usually seems useless but I think it’s important to show it to the model on set. She’ll get what posing she’ll have to do and the correct mood.
It’s easier to show her what you want instead of describing the whole situation!
SHARE IT!
Last but not least you have to share your
The stylist will send the
Today
That’s it, that’s all you have to know. Now you’re able to do a professional moodboard! Don’t worry if the first one doesn’t come out as you wished, you’ll get better by practising it.
Why don’t you try to make your personal
I can’t wait to see your works!
Article by Beatrice Mazza